Table of Contents
- What Does “Clearing” A Computer Actually Mean?
- Before You Wipe: Quick Checklist (10 Minutes That Prevents Headaches)
- How To Wipe A Windows PC Before Recycling
- How To Wipe A Mac Before Recycling
- Is A Factory Reset Enough? (What Most People Get Wrong)
- If You Can’t Wipe It: Remove The Drive Or Use Certified Data Destruction
- Recycling Checklist: What To Include (And What To Keep)
- What Happens After Collection (And How Your Data Is Handled)
- FAQs
- Fun Fact: “Deleted” Usually Means “Still There”
- Conclusion
To clear an old computer before recycling, back up anything you need, sign out of accounts, and encrypt the drive if you can. Then erase the drive properly. Use Windows “Reset this PC” with a full clean, or macOS “Erase All Content and Settings”, or Disk Utility followed by a reinstall. If you cannot wipe it, remove the drive and arrange certified data destruction.
Whether you are recycling a personal laptop or retiring workplace IT, the goal is the same. Remove your data in a way that matches your risk level, then send the equipment through a compliant recycling route. This guide explains what to do on Windows and macOS, what changes if you have an HDD vs an SSD, and what to do if the computer will not turn on.
If you want extra reassurance about how data is handled during recycling, see what happens to data on old computers and laptops and how to be sure data is securely wiped.
What Does “Clearing” A Computer Actually Mean?
“Clearing” can mean different things, and that is where many people go wrong. Deleting files or doing a quick reset might remove your access to data. However, it does not always make the data unrecoverable.
Factory Reset Vs Secure Wipe Vs Physical Destruction (What’s The Difference?)
- Factory reset: Puts the computer back to an out-of-the-box state. It may remove your user account and apps, but it is not always a recognised data sanitisation method on its own.
- Secure wipe (sanitisation): Uses built-in “clean” options or approved erase methods to make previous data much harder to recover. Businesses often align this with recognised guidance such as NIST SP 800-88 media sanitisation.
- Physical destruction: The drive is shredded or otherwise destroyed. This is often used when the device cannot be wiped, when the data is highly sensitive, or when policy demands it.
For UK households and businesses, securely removing personal data is part of good cyber hygiene. For organisations, it also links to GDPR responsibilities. The Information Commissioner’s Office (ICO) explains why individuals should have control over their data, and secure disposal forms part of that practical reality.
HDD Vs SSD: Why The Best Method Can Differ
- HDD (traditional hard drive): Older wiping advice often focuses on overwriting the entire disk. That can still be relevant for HDDs in some cases, but it can take hours.
- SSD (solid state drive): Repeated overwrites are not the best approach. Wear levelling and how SSDs manage storage internally can leave some areas untouched. Using the operating system’s secure reset or the drive’s own secure erase functions is often more suitable.
If you are unsure which you have, Windows Task Manager (Performance tab) often shows “SSD” or “HDD”. Many Macs list the storage type under System Information.
Before You Wipe: Quick Checklist (10 Minutes That Prevents Headaches)
Do these first. They reduce the chance of losing something important and prevent lockouts for the next owner or recycler.
Back Up Files And Browser Passwords
- Check the obvious folders: Documents, Desktop, Downloads, Pictures, Videos.
- Check cloud sync folders: OneDrive, iCloud Drive, Google Drive, Dropbox. Make sure everything has fully synced.
- Export browser data if needed: Bookmarks, saved passwords, and autofill details can live inside the browser profile, not your Documents folder.
- Remember email archives: Some email apps store local caches or PST files.
- Consider password managers: Make sure you can sign in on a new device, and keep recovery codes where relevant.
Sign Out Of Accounts And Remove The Device From Your Account List
- Microsoft account: Sign out in Windows, and remove the device from your Microsoft account devices list where possible.
- Apple ID (Mac): Sign out of iCloud, and disable Find My on the device.
- Google accounts: Important for Chrome profiles and Chromebooks.
This matters because account locks can persist after a reset. It also reduces what stays linked to the device.
Deauthorise Paid Software (Microsoft Office, Adobe, Etc.)
- Deactivate licences: Office, Adobe Creative Cloud, music production tools, VPNs, and any software with device limits.
- Back up licence keys: If you have perpetual licences, find your keys or sign-in details first.
BitLocker/FileVault: Turn On Encryption If You Still Can
If the machine still works, enabling full-disk encryption before wiping can reduce data recovery risk. It is especially helpful if you later need to rely on a reset rather than a specialist erase.
- Windows BitLocker: Available on many Windows editions and devices, especially business models.
- Mac FileVault: Common on Macs, and straightforward to enable in System Settings.
For general device protection best practice, the UK National Cyber Security Centre (NCSC) provides practical guidance on keeping devices secure.
How To Wipe A Windows PC Before Recycling
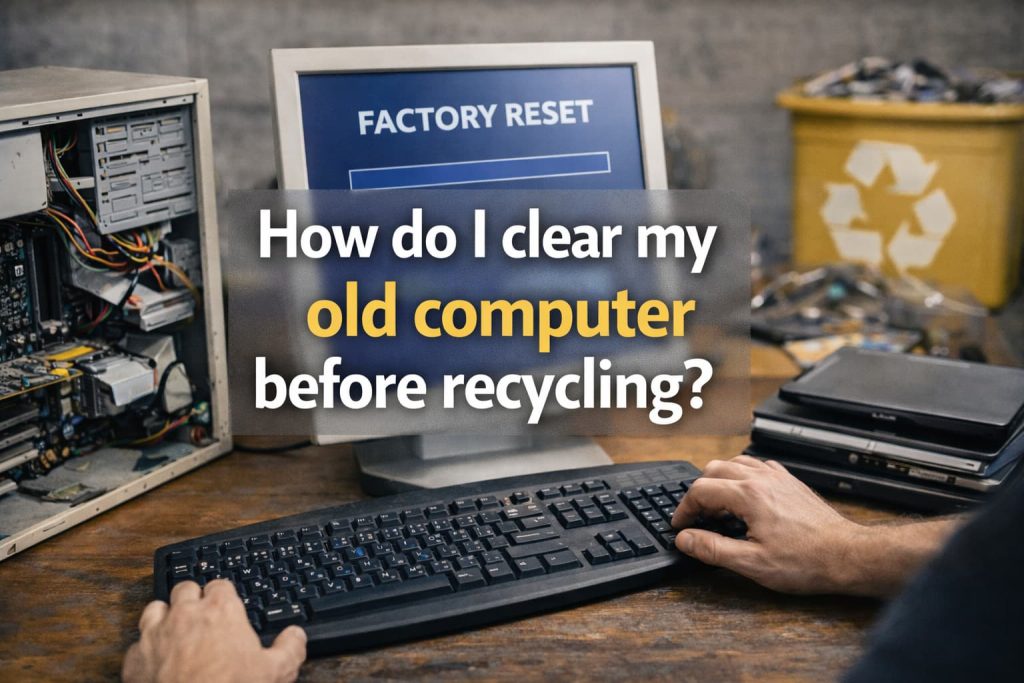
Windows 10/11: “Reset This PC” With A Full Clean (Recommended For Most People)
This is the best built-in option for most home users. It removes personal files and reinstalls Windows. The “clean” option also makes recovery harder.
- Step 1: Go to Settings, then System, then Recovery.
- Step 2: Select “Reset this PC”.
- Step 3: Choose “Remove everything”.
- Step 4: Choose “Cloud download” or “Local reinstall”.
- Step 5: In “Change settings”, turn on “Clean data” (the wording may be “Clean the drive”).
- Step 6: Confirm and start the reset, then leave it plugged in until it finishes.
Important: If you are recycling, you do not need to sign back in afterwards. Once the reset finishes, shut down the PC.
If You’re Giving It Away Or Selling: How To Leave Windows Ready For The Next User
- Use the same reset steps: “Remove everything” plus “Clean data”.
- Stop at the Windows setup screen: When the “Let’s set things up” screen appears, power off. This leaves the out-of-box setup ready for the next user.
- Keep proof for business devices: Record the serial number and asset tag in your inventory notes before disposal.
If The PC Won’t Boot: Options (Recovery Media, Removing The Drive)
- Try Windows Recovery Environment: Some devices let you access recovery options on start-up (often by interrupting boot several times).
- Use recovery media: If you can boot from a USB installer, you may be able to access tools to reset or reinstall.
- Remove the drive: If you cannot boot reliably, removing the HDD or SSD and handling it separately is often the safest route.
- Choose certified destruction for high risk: If this is a business device or contains sensitive data, consider certified data destruction rather than DIY methods.
For more on what you can expect from professional data handling, see is data removed before recycling and the safest way to dispose of old IT equipment.
How To Wipe A Mac Before Recycling
macOS: “Erase All Content And Settings” (Newer Macs)
Many newer Macs include a built-in erase process that removes your data and signs you out correctly.
- Step 1: Back up your Mac (for example, Time Machine or cloud storage).
- Step 2: Sign out of iCloud and disable Find My (see the section below).
- Step 3: Open System Settings, then go to General, then Transfer or Reset.
- Step 4: Choose “Erase All Content and Settings” and follow the prompts.
Older Macs: Disk Utility Erase, Then Reinstall macOS
On older macOS versions, you usually erase via Recovery.
- Step 1: Restart into macOS Recovery (the method depends on Intel vs Apple silicon).
- Step 2: Open Disk Utility.
- Step 3: Select the internal drive, then choose Erase.
- Step 4: Choose an appropriate format (often APFS for modern macOS).
- Step 5: Exit Disk Utility and choose “Reinstall macOS”.
If you are recycling rather than selling, you can stop once the reinstall begins, or once you reach the initial setup screens. Then shut down.
iCloud/Find My: Why You Must Sign Out Before Disposal
If Find My stays enabled, Activation Lock can prevent reuse. It can also create problems for donation or refurbishment.
- Sign out of iCloud: Remove the device from your Apple ID where possible.
- Disable Find My: Check that the Mac is no longer listed in your Find My devices.
Is A Factory Reset Enough? (What Most People Get Wrong)
A reset can be enough in some cases, but only if you understand what it does and what it does not do. The biggest factors are whether the drive was encrypted and whether you chose a “clean” option that reduces recoverability.
When A Reset Is Usually Fine (Encrypted Drives)
- BitLocker or FileVault enabled: If the drive is encrypted, deleting the encryption keys during a proper reset makes existing data far harder to recover.
- You used “clean the drive”: On Windows, selecting the full clean adds extra protection compared with a quick removal.
- Low sensitivity data: General home-use devices with no sensitive records, especially if they were encrypted, are often fine with built-in reset tools.
When You Should Choose A Stronger Method (Sensitive Data, Business Devices)
- High sensitivity data: Financial details, health information, client data, HR data, or anything regulated or confidential.
- Unencrypted older devices: Especially HDD-based machines with years of use.
- Business and public sector devices: These often need auditable processes aligned with internal policy and frameworks like NIST SP 800-88.
- You cannot verify what happened: If you cannot confirm encryption or the wipe outcome, do not assume it is safe.
Simple risk guide:
- Low risk: Modern encrypted laptop, you can run a full reset with the clean option.
- Medium risk: Older device, unsure about encryption, personal data present.
- High risk: Business device, sensitive records, or a device that will not boot for wiping.
If You Can’t Wipe It: Remove The Drive Or Use Certified Data Destruction
If the computer is dead, locked, or too slow to wipe, you still have safe options. For high-risk cases, certified data destruction provides a clear chain of custody and evidence for audits.
How To Find And Remove A Hard Drive/SSD (Laptops Vs Desktops)
- Desktop PCs: Drives are usually accessible from a side panel. Look for a 3.5-inch HDD or 2.5-inch SSD, or an M.2 stick on the motherboard.
- Laptops: Some have a dedicated access panel. Others require removing the full bottom cover. Many newer laptops use M.2 SSDs.
- If in doubt: Search the model number plus “drive removal”, or choose professional handling to avoid damage or battery puncture risk.
Once removed, store the drive safely and do not post it loosely. If you are arranging collection, ask about secure transport and documented destruction.
What A Data Destruction Certificate Is And When To Ask For One
A data destruction certificate is documentation confirming how storage media was sanitised or destroyed. Businesses, schools, and charities often need this when they handle personal data.
- What it typically includes: Serial number or asset ID, method used (wipe, degauss, shred), outcome, and processing date.
- When you should request it: Any time you are responsible for personal data, client data, or regulated information, and you need evidence for compliance.
Green Retech Recycling can advise on secure options and documentation. If you need formal proof, see data destruction certificates and GDPR compliance.
Recycling Checklist: What To Include (And What To Keep)
Once the data side is handled, recycling becomes much simpler. In the UK, computers fall under WEEE regulations, which set expectations for safe collection and treatment. See the GOV.UK WEEE guidance for an official overview.
Accessories, Monitors, Cables, Docks And Batteries
- Include if accepted: Power supplies, docks, keyboards, mice, and monitors are often recyclable alongside computers.
- Remove loose batteries where possible: Some batteries need separate handling.
- Do not put e-waste in the bin: Electrical items can contain hazardous materials that require correct disposal routes. See GOV.UK hazardous waste disposal.
For practical prep guidance, see how to prepare items for WEEE recycling and whether WEEE can go in the bin.
Labels/Asset Tags And Business Inventory Notes
- Remove or record asset tags: Keep a record for your audit trail, especially if you are decommissioning multiple devices.
- Remove SIM and SD cards: These are commonly missed, and they can contain personal data.
- Keep chargers if reusing: If you are standardising chargers internally, separate them before collection.
What Happens After Collection (And How Your Data Is Handled)
With a reputable recycling provider, items should be logged, handled securely, and processed for reuse or recycling. For businesses, the priority is a clear chain of custody. You also need to know whether the outcome is data wiping, drive removal, or physical destruction.
To understand typical downstream steps, read what happens after collection and how electronic waste is recycled. If you are deciding between wiping yourself and asking for support, this guide on data removal before recycling explains the practical options.
Decision tree you can follow:
- If you are selling or donating: Use a full reset plus account sign-out, and leave the setup screen ready for the next user.
- If you are recycling a working device: Encrypt if you can, then run a full clean reset (Windows) or the built-in erase (macOS).
- If the device will not boot, or the data is highly sensitive: Remove the drive or use certified data destruction, then recycle the remaining equipment compliantly.
FAQs
Can Deleted Files Be Recovered?
Often, yes. Deleting usually removes the file reference and marks the space as available. The underlying data may remain until it is overwritten or securely erased. Encryption and secure wipe methods reduce this risk significantly.
Should I Drill Holes Through My Hard Drive?
Drilling can damage a drive, but it is not a controlled or auditable destruction method. It may not destroy every platter or memory component either. For high-risk data, a documented destruction service is usually safer and easier to defend for compliance.
What About Chromebooks Or Linux PCs?
- Chromebooks: Back up Google Drive, then use Powerwash (factory reset) and remove the device from your Google account list. Also sign out of the Chromebook before handing it over.
- Linux PCs: Use an erase approach that fits the drive type, such as full-disk encryption plus reinstall, or vendor secure erase tools for SSDs. For business devices, consider certified data destruction.
Fun Fact: “Deleted” Usually Means “Still There”
A “deleted” file is not usually removed straight away. Most systems simply mark the space as available. This means data can often be recovered until it is overwritten or the drive is securely erased, especially on older, unencrypted hard drives.
Conclusion
Clearing an old computer before recycling comes down to three steps. Protect what you need (back up), break the links (sign out and deauthorise), then remove the data properly (secure reset, erase, or certified destruction). If you cannot wipe the device with confidence, treat the drive as the priority and arrange documented data destruction.
If you would like help choosing the right option for your risk level, or you need secure recycling with clear documentation, Green Retech Recycling can help. Start with secure wiping reassurance or data destruction certificates to plan your next step.